.jpg)
The essential piece
For those planning a styled portrait session with a bohemian bent, this is the essential piece, and you can do it yourself in about one hour and one trip to the hobby shop. I decided to do this myself because the first nursery that I called to make one for me only used real flowers and charged a starting price of $150 with one week’s advance notice. For a bride, or some very special event, I’m sure that would be perfectly lovely and well worth the cost, but for a photographer in need of something that will last, that was not going to work.
I’ll give you the quick and dirty how-to, because that’s exactly how I approached this little project. I needed a head piece for a maternity portrait session and had very little time to produce it. So, here we go. Let’s start with what you need.
Craft supply list
These are the items I used (all should be readily available at your local craft store):
- Vine-wrapped rustic wire – Found with the floral supplies, used to construct the base crown
- Brown/green floral tape – I went with brown to match the base material
- Green floral wire
- Silk greenery and/or flowers – Real flowers would be beautiful, but I need something that I can use at every portrait session
- Hot glue gun
- Scissors
- Wire cutters (I did not have these, but wish I had, so grab a pair if you don’t have them at home)
I spent around $25 dollars for the items I didn’t already have on hand (wire, tape, flowers). You could easily spend far more on the flowers, but if you want to be thrifty, you can.
Construct the base crown
There are various materials that can be used, but I went the easiest/fastest option that I could find. The craft store had some beautiful vine-wrapped rustic wire in dark brown that I absolutely loved. It was already fairly thick, so I figured that would be a great starting place. I simply wrapped it around my head one time, made a cut approximately 1.5 inches beyond that length, and wrapped the ends together at a size I thought would work for me.
Add your greenery
I purchased only one stem of a pale waxy greenery that I loved. With the scissors, I cut each of the small bunches of leaves off of the main stem giving me small stems with 4-8 leaves on each. I then cut off the bottom pair of leaves allowing for a longer stem which could be attached to the base crown. With short pieces of floral wire (3-4 inches each), I placed each individual stem one by one along the crown, attaching it by tightly wrapping the wire around the stem and the crown. Then, I wrapped the floral tape over the top of the wire to secure it as well as cover it. I started at the back of the crown and worked in one direction, placing each stem just in front of the previous. I tried it on after every section of stems were attached to make sure I liked the progress, and made adjustments as needed.
.jpg)
Add your flowers
My goal was to create something simple, natural, bohemian, and understated. I hesitated to add any flowers at all, but decided that the tiny cream-colored roses I found would be just simple enough. I removed each from the stem, planning in advance how many and how far apart I wanted to add. I used only three in the end. These were glued directly onto the crown with the hot glue gun since there were no stems.
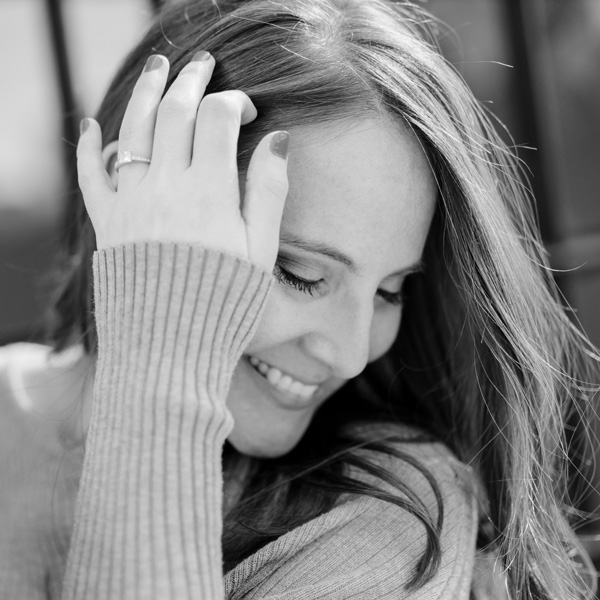
Choosing the right flowers and deciding where to place them was definitely the most difficult part of this process. Everything else is simple enough. I photographed a beautiful self-described ‘bohemian’ expectant mother on the very same day.
.jpg)
Jennifer Najvar is a Newborn and Maternity photographer in Austin, Texas. Newborn Sessions are scheduled during the first 14 days after your baby’s arrival. The best time to reserve your Newborn photography session is during your pregnancy before you reach 30 weeks.

.jpg)

